
 Guide")
You can customize your Roblox avatar with various types of clothing that can be purchased from the Avatar catalog. But, if you feel like personalizing on your terms, you can also make your clothes. Not only that, but you can also monetize your creations to be sold on the Avatar Catalog to other players.
Note: To monetize your creations, you will have to pay 10 Robux.
Types of Clothing in Roblox
You can design three different pieces of clothing in Roblox, each of which has a different format in which they need to be designed (width x height).
- T-Shirts
- Pants
- Shirts
How to Create T-Shirts
Compared to Pants and Shirts, T-Shirts are far easier to create as they only require a 512×512 pixel picture to be uploaded to Roblox’s Asset Manager. T-Shirts are only a square decal compared to a full shirt.
Shirts and Pants
Shirts and Pants cover the avatar’s body. You can download the template images, draw whatever you like on them using Photoshop or Pixlr, and then upload them to the asset manager.

Click here to download the template.
You can find the sizes for each part in the following table:
| Shape | Pixel Size (width x height) | Clothing Parts |
| Large square | 128 x 128 | Front and Back |
| Tall rectangle | 64 x 128 | Side of torso (R,L) Side of arms and legs (L,B,R,F) |
| Wide rectangle | 128 x 64 | Up and Down |
| Small square | 64 x 64 | Top and bottom of arms and legs (U,D) |
If your images do not match the dimensions mentioned in the table above, or are not following the template, you will not be able to upload to the asset manager.
Designing a T-Shirt/Shirt/Pant in Roblox
Once you’ve downloaded the template mentioned above, you’re all set to accessorize. As mentioned, you could use Photoshop, but we prefer to use an online software, Pixlr. It’s free and much easier to get into than Photoshop.
You won’t have to familiarize yourself with every feature of Pixlr. We’re going to walk you through the more essential ones that you’re going to need in order to create your own designs.

- Start by uploading the template into Pixlr.
- Add a new layer by clicking on the “+” sign at the right.
- To color specific parts of your clothing, use the “Marquee Select” tool.
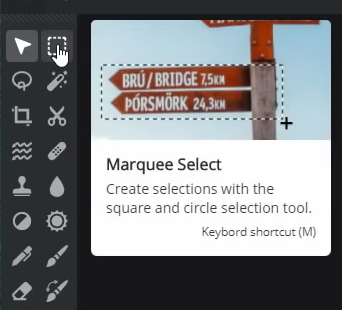
Marquee Select - Highlight the part you’d like to color.

Highlighting Colored Part - Use the fill tool to change the selection to any color of your preference.
- You can use pre-shaded templates by searching on Google images to avoid a bland look.
- To add a shaded template, click on the “+” button again, but this time, add an image.
- Select “Wand Select” from the tools on the left, which will highlight the entirety of the uploaded image.
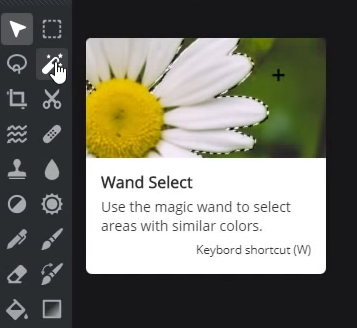
Wand Select - Use the eraser tool at this point to remove the white background and fit the shader template onto the original one.

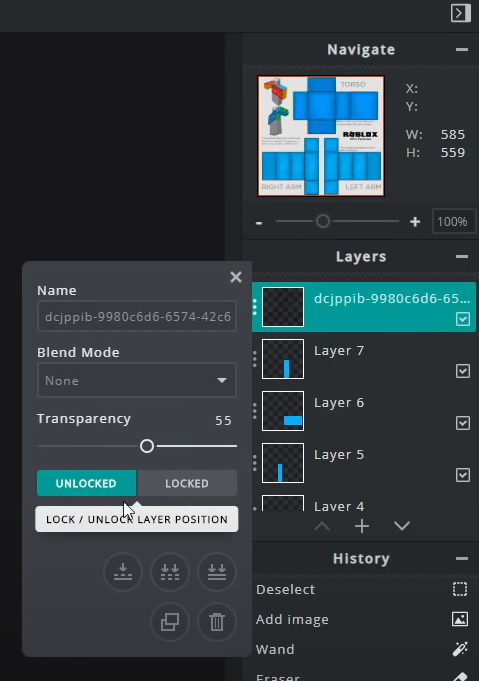
Editing Transparency - By editing the transparency of the shaded template, you can determine how noticeable you want the effect to be.

Editing Transparency Of Shaded Part - To add any pictures, simply use the “+” button again, and place the newly added image on any part of your clothing.
Adding Pictures
With all those tools in mind, you’ll be able to create any design that you can visualize. Feel free to add any pictures you like! Just don’t exceed the limitations of the template provided by Roblox, and you’ll be able to upload it!
Test Your Creation in ROBLOX Studio
You don’t have to pay to put your creation up in the store. Using the Roblox Studio, you can test it out for free to see how it looks.
- Click on the Plugins tab in ROBLOX Studio.
- Select the “Build Rig” option to select a model.

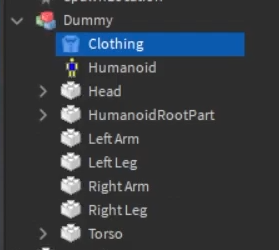
Roblox Studio - On the right side, under ‘Explorer’, find the ‘Dummy’ folder.
- Insert a new object by right-clicking Dummy and selecting the design you want.
- Locate and click the object.
Locating and Clicking The Object - Edit its properties. Property names may be different depending on the piece of clothing.
- Graphic for T-Shirt.
- Shirt Template for Shirt.
- Pants Template for Pants.
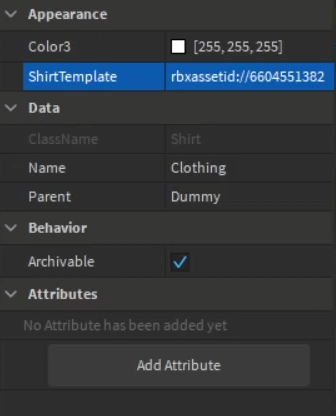
Clicking On Empty
- Click in the empty row adjacent to the property and upload your designed image.
How to Upload Clothing to Avatar Catalog in Roblox
After you’re satisfied with the design you’ve created and have thoroughly tested it in ROBLOX Studio; you can upload it to the Avatar Catalog.
- Head to the Roblox Create page.
- Select the category of clothing you’d like to upload.
- Click on “Choose File” to select what you’ll be uploading.
- Pick a name for your design.

Uploading A Shirt - Click on Upload.
- Roblox’s support will approve your item, which can then be purchased for Robux by other players.
Conclusion
With those steps in mind, you’ll be able to create your designs in no time and upload them to the asset manager. If your designs get famous, you could earn a lot of Robux! Keep in mind that any designs that may go against the community guidelines will not be approved and, thus, will not show up in the catalog.
